Unleashing the E-Commerce Potential: A Step-by-Step Guide on How to Create a Shopify Website
Unleashing the E-Commerce In the dynamic world of online retail, having a well-designed and user-friendly website is crucial for success. Shopify, a leading e-commerce platform, empowers entrepreneurs to create their online stores with ease. In this guide, we’ll walk you through the steps on how to create a Shopify website, enabling you to showcase your products and services to a global audience, all while considering essential aspects like accounting, AI store building, and specific themes such as “Be Yours” and “Beckett.”
Step 1: Sign Up for a Shopify Account
- Visit the Shopify website and click on “Get Started.”
- Enter your email address, create a password, and set a unique store name.
- Follow the prompts to provide essential information about your business, ensuring seamless integration with accounting tools.
Step 2: Customize Your Store with the Be Yours Shopify Theme
- Choose a Shopify theme that suits your brand, such as the “Be Yours” theme.
- Navigate to the “Online Store” section and explore the available themes.
- Customize the selected theme to match your brand’s identity. Modify colors, fonts, and other design elements, ensuring a cohesive look and feel.
Step 3: Add Your Products
- Click on the “Products” tab and select “Add product.”
- Fill in the product details, including title, description, price, and images, utilizing AI Shopify store builder functionalities for efficient product management.
- Organize products into categories to enhance navigation for your customers.
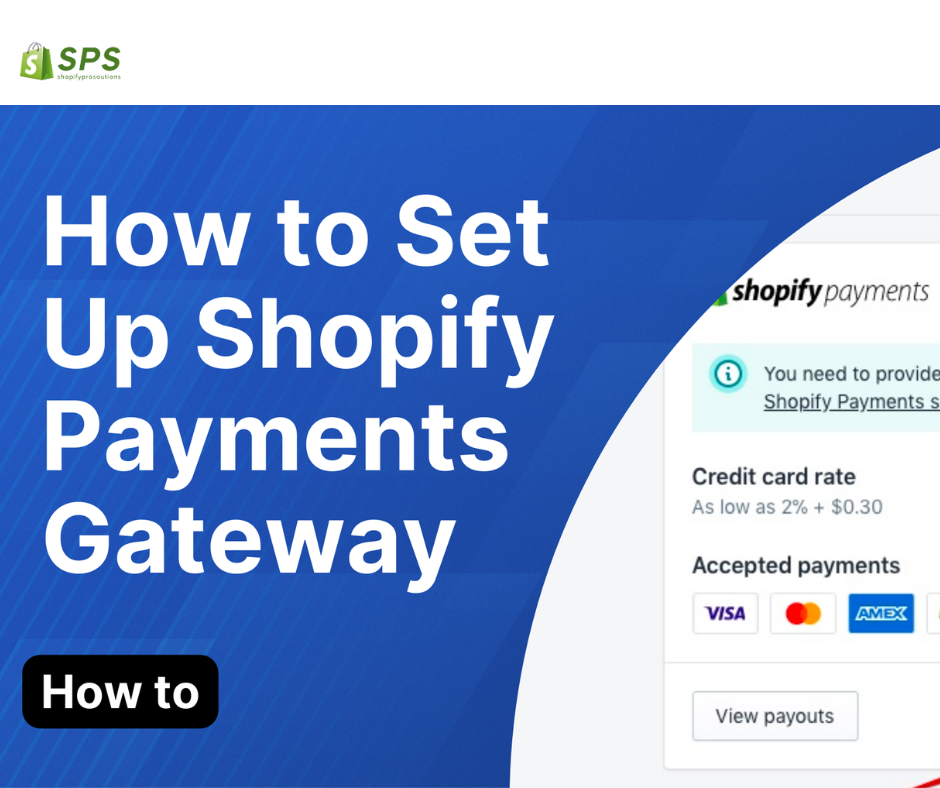
Step 4: Set Up Payment Gateways
- Navigate to “Settings” and choose “Payments,” ensuring compatibility with accounting tools.
- Select a payment gateway like Shopify Payments, PayPal, or Stripe for secure transactions.
- Follow the instructions to set up your chosen payment method, integrating seamlessly with your accounting system.
Step 5: Configure Shipping Settings
- Under “Settings,” click on “Shipping.”
- Set up shipping zones, rates, and delivery options based on your business’s requirements, all while keeping an eye on your accounting logistics.
Step 6: Customize Your Domain with “Beckett” Integration
- Purchase a custom domain through Shopify or connect an existing domain.
- Go to “Online Store” > “Domains” to configure and set up your custom domain, ensuring a seamless integration with the Beckett Shopify theme.
Step 7: Optimize for SEO
- Enhance your store’s visibility by optimizing product descriptions, titles, and meta tags for search engines and accounting tools.
- Utilize Shopify’s built-in SEO features and create a sitemap for enhanced discoverability.
Step 8: Test Your Website
- Preview your store and ensure that all elements are functioning correctly, including the “Beckett” theme features.
- Place test orders to verify the checkout process and payment gateway functionality, keeping an eye on your accounting integration.
Step 9: Launch Your Shopify Store
- Once satisfied with your store’s design and functionality, it’s time to launch.
- Click on the “Online Store” tab and select “Disable password” to make your store public.
Step 10: Market Your Shopify Store with “Buy Shopify Shop” Strategies
- Implement marketing strategies such as social media promotion, email campaigns, and search engine optimization.
- Leverage the “Buy Shopify Shop” strategy to enhance brand recognition and drive traffic to your store.
Conclusion:
Congratulations! You’ve successfully created your Shopify website, incorporating essential elements such as accounting, AI store building, and specific themes like “Be Yours” and “Beckett.” Regularly update and optimize your store, stay attuned to customer feedback, and watch your online business thrive on the Shopify platform. With the right strategies and a user-friendly website, the sky’s the limit for your online store’s success.